How to Clean a Range Hood Filter: A Step-by-Step Guide
Regularly cleaning your range hood filter is crucial for maintaining a clean and efficient kitchen. Grease, oil, and other particles can accumulate in the filter over time, reducing its effectiveness and potentially damaging your range hood. By following a few simple steps on how to clean a range hood filter, you can ensure your range hood filter remains clean and functions optimally.
KEY TAKEAWAYS
- Cleaning the range hood grease filters helps the vent system work efficiently to remove smoke and cooking odors from your kitchen.
- Gather the right supplies to clean the grease filters including detergent, a soft-bristled brush and paper towels.
- Clean the range hood filters as described below and then let them dry completely before reinstalling them in the range hood.
Why is it Important to Clean Your Range Hood Filter Regularly?
Regular cleaning of your range hood filter is essential for the efficiency and effectiveness of your kitchen ventilation system. Ignoring this task can lead to various problems, affecting both your health and the functionality of your range hood.
A clean filter helps your range hood effectively remove smoke, grease, and odors from your kitchen, keeping the air fresh and preventing the buildup of unpleasant smells or harmful contaminants. Additionally, a clean filter extends the lifespan of your range hood by preventing strain on the motor and maintaining overall performance.
A dirty filter restricts airflow, reducing the efficiency of your range hood and making it less effective at removing smoke and odors. This can degrade air quality in your kitchen, potentially causing respiratory issues or exacerbating conditions like asthma or allergies.
The frequency of cleaning depends on your cooking habits and the type of range hood you have. Generally, it is recommended to clean the filter every 1-3 months. However, if you cook frequently with greasy or oily foods, more frequent cleaning may be necessary. Check your range hood's user manual for specific cleaning and maintenance instructions on how to clean hood filters.
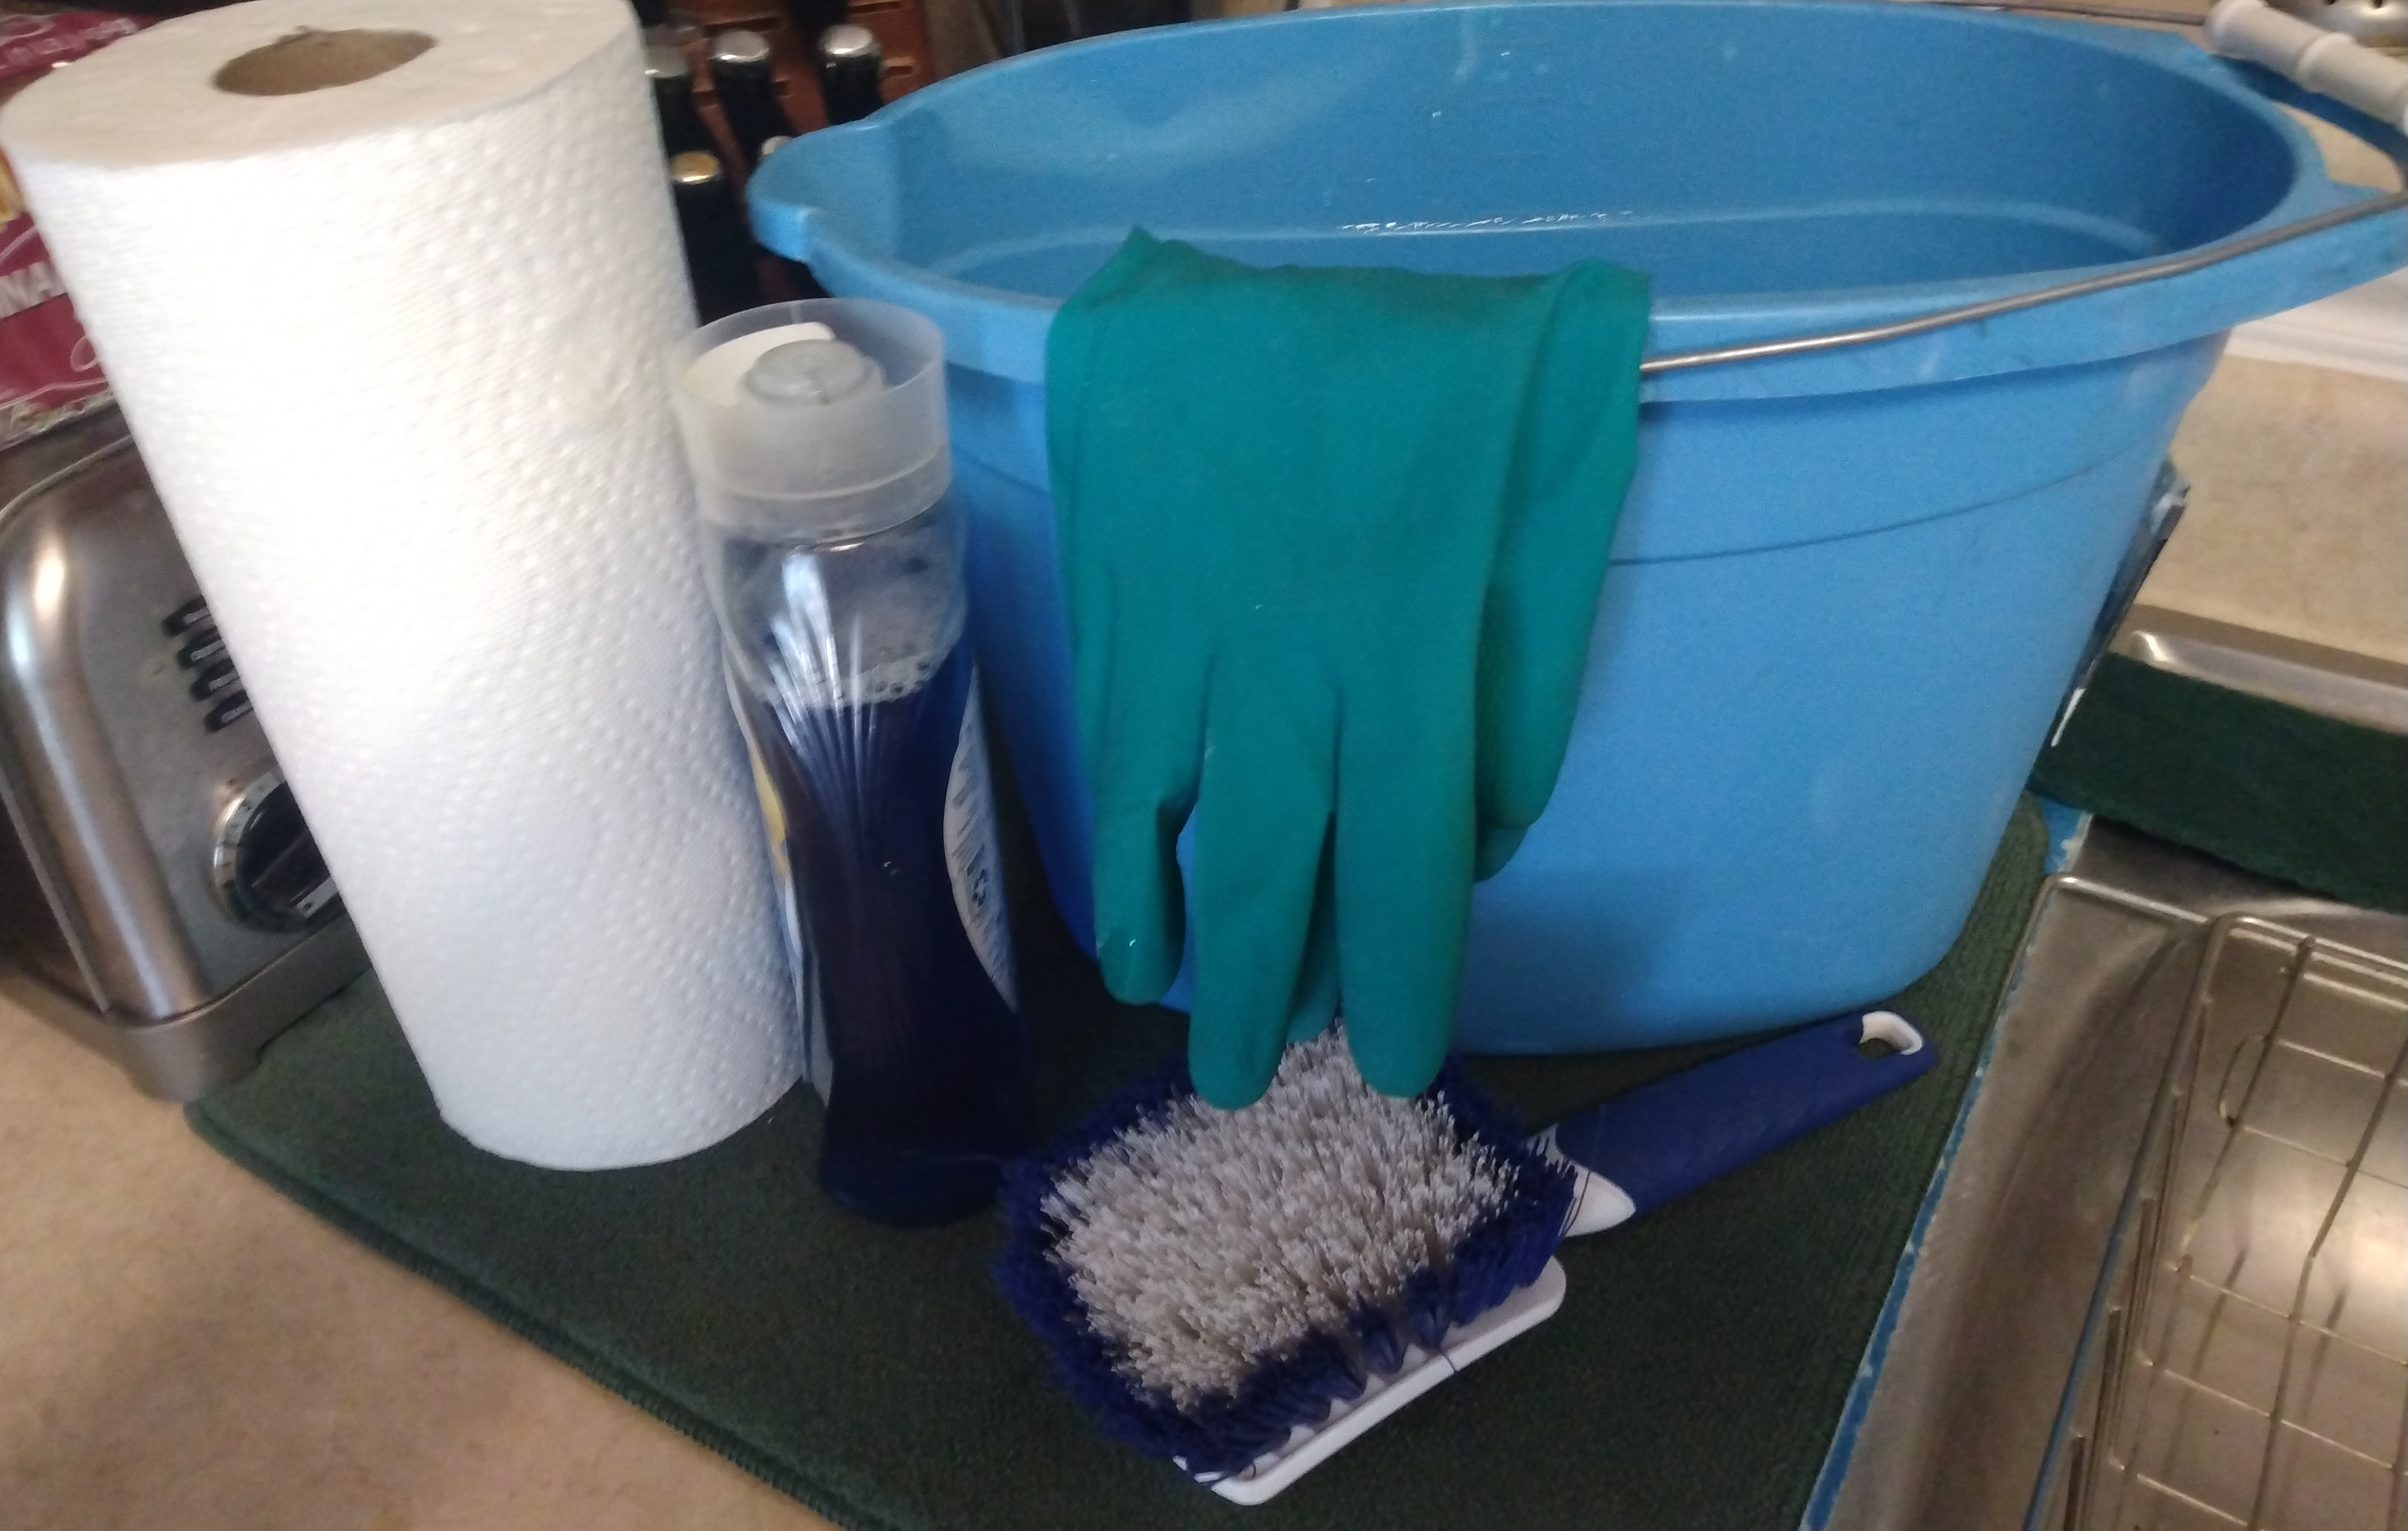
Materials and Tools Needed for Cleaning a Range Hood Filter
Having the right materials and tools is essential for effectively cleaning a range hood filter. Here are some recommended cleaning solutions and supplies:
- A mild dish soap or degreaser: Opt for a gentle cleaning solution suitable for your range hood filter.
- A soft-bristled brush: Use a brush with soft bristles to scrub away grease and grime without damaging the filter.
- A bucket or sink: You'll need a container large enough to soak the filter in the cleaning solution.
- Hot water: Ensure you have access to hot water for soaking and rinsing the filter.
- A clean towel or paper towels: These will be useful for drying the filter after cleaning.
Additionally, wear protective gear while cleaning the range hood filter to ensure your safety:
- Rubber gloves: Protect your hands from the cleaning solution and any bacteria on the filter.
- Eye protection: Shield your eyes from any splashes or debris during the cleaning process.
- An apron or old clothes: Wear something you don't mind getting dirty, as the cleaning process can be messy.
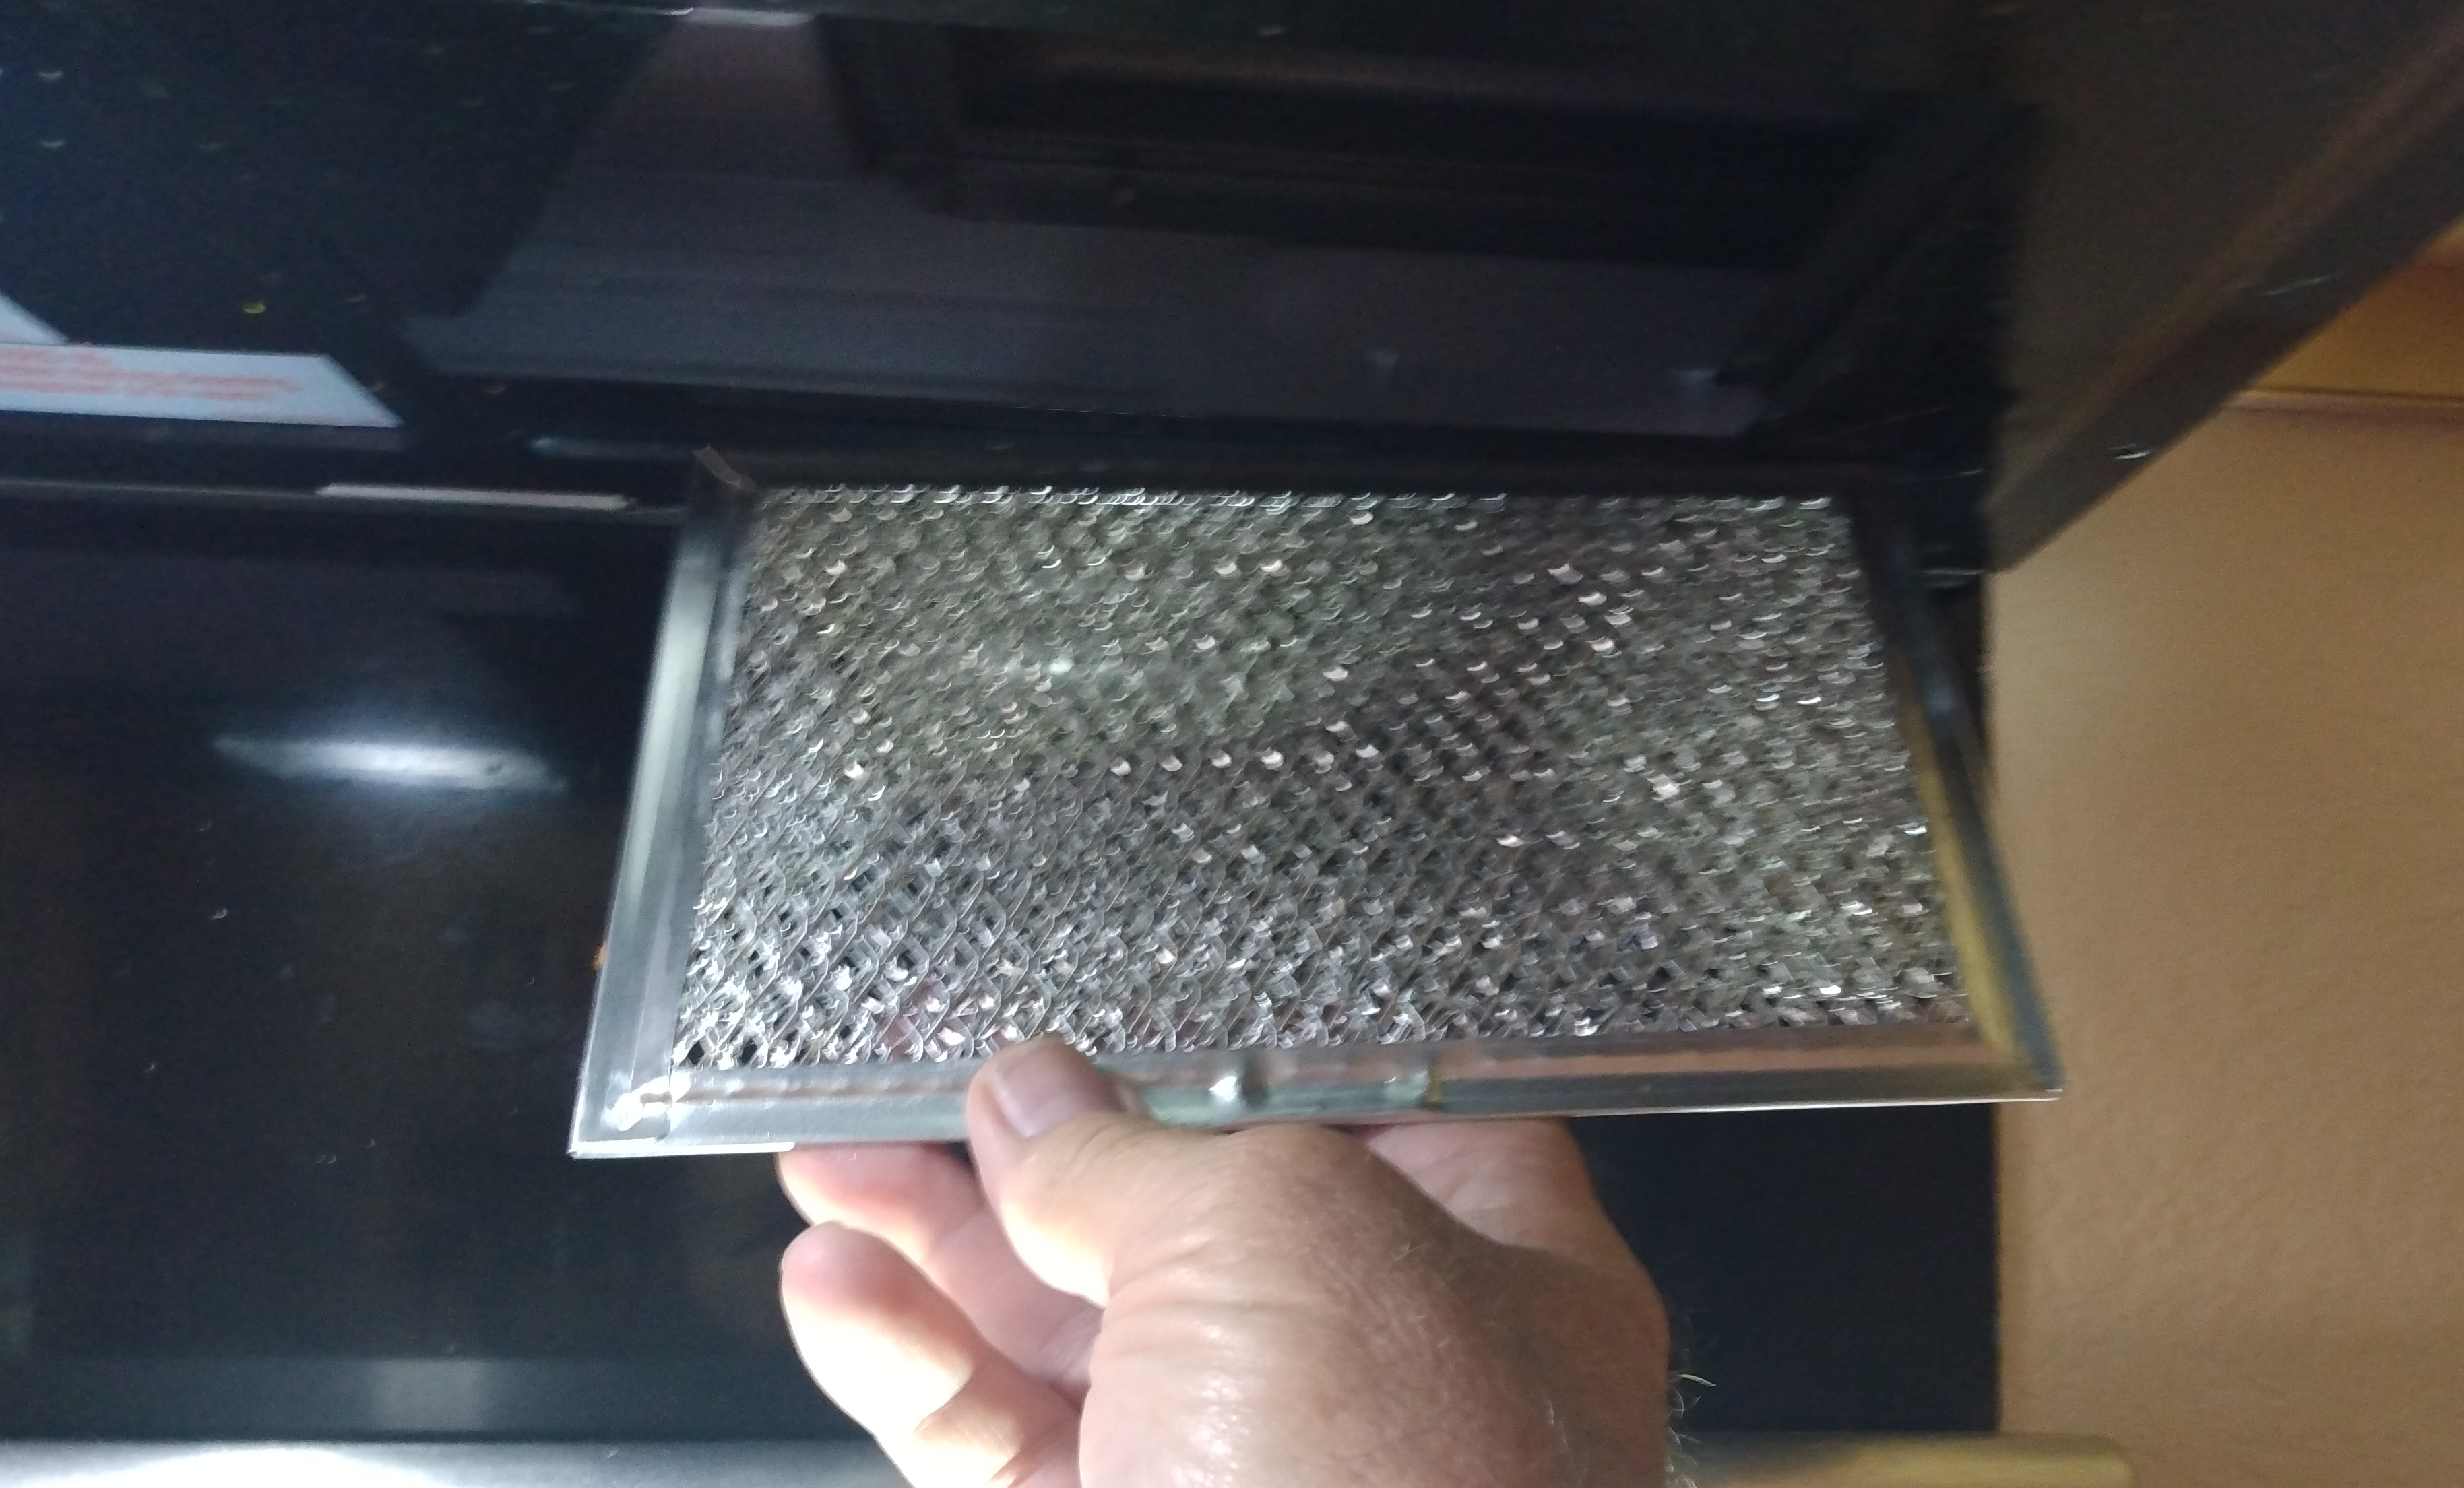
Remove the Grease Filters
Now that you have the necessary materials and protective gear, it's time to safely remove the filters from the range hood. Follow these steps:
- Turn off the range hood and unplug it from the power source to avoid any accidents.
- Locate the filters: Depending on your range hood model, the filter may be found on the bottom, back, or inside the hood itself.
- Remove the filters: Gently detach the filters from the range hood. Some filters may require twisting, sliding, or pressing buttons to release.
- Inspect the filters: Examine the filter for any visible damage or excessive buildup of grease and dirt. Replace any damaged grease filters. Schedule range hood repair service if you need to have a technician order and replace a damaged grease filter.
By following these steps and having the right materials and tools, you'll be well-prepared to clean your range hood filters effectively and safely.
Step-by-Step Instructions for Cleaning Your Range Hood Filters
Follow these steps to clean your range hood grease filters effectively.
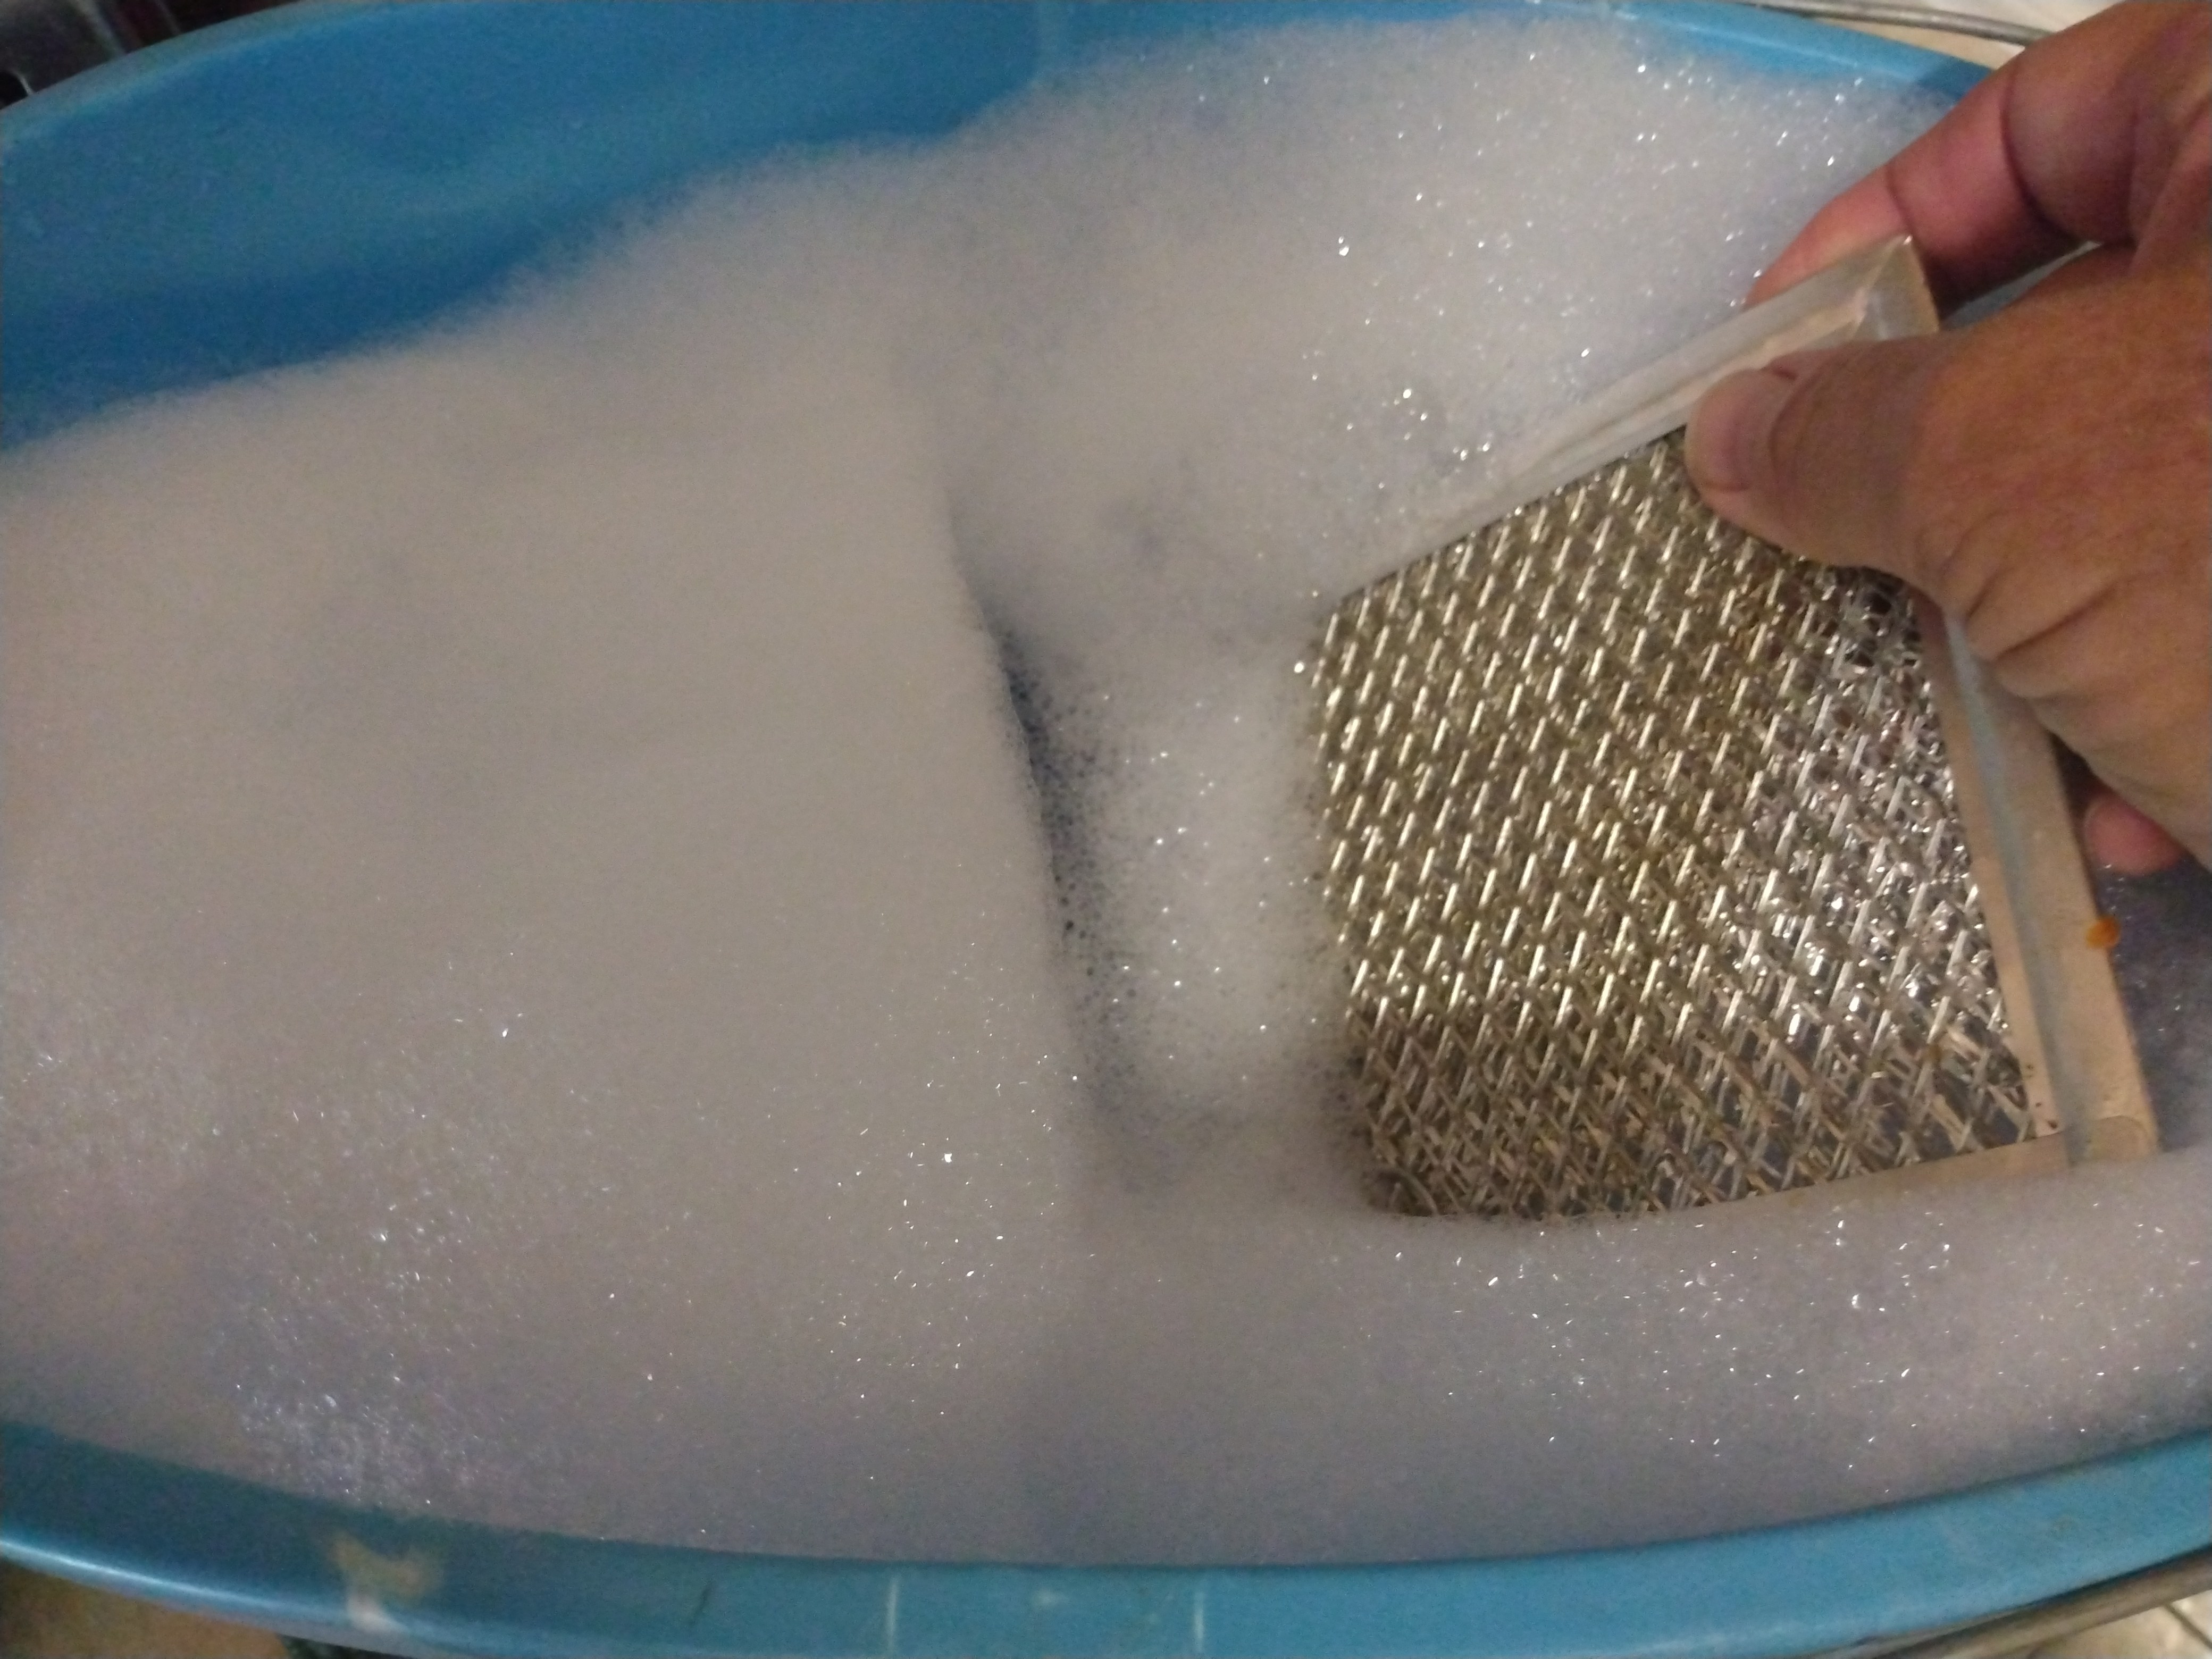
1. Soak the Filters
Prepare a mixture of hot water and dish soap or degreaser. Follow the instructions in the owner’s manual to use the right type of detergent for the mesh grease filters in your model of range hood.
Soak the filters in the soapy water for a half hour or more depending on how greasy they are.
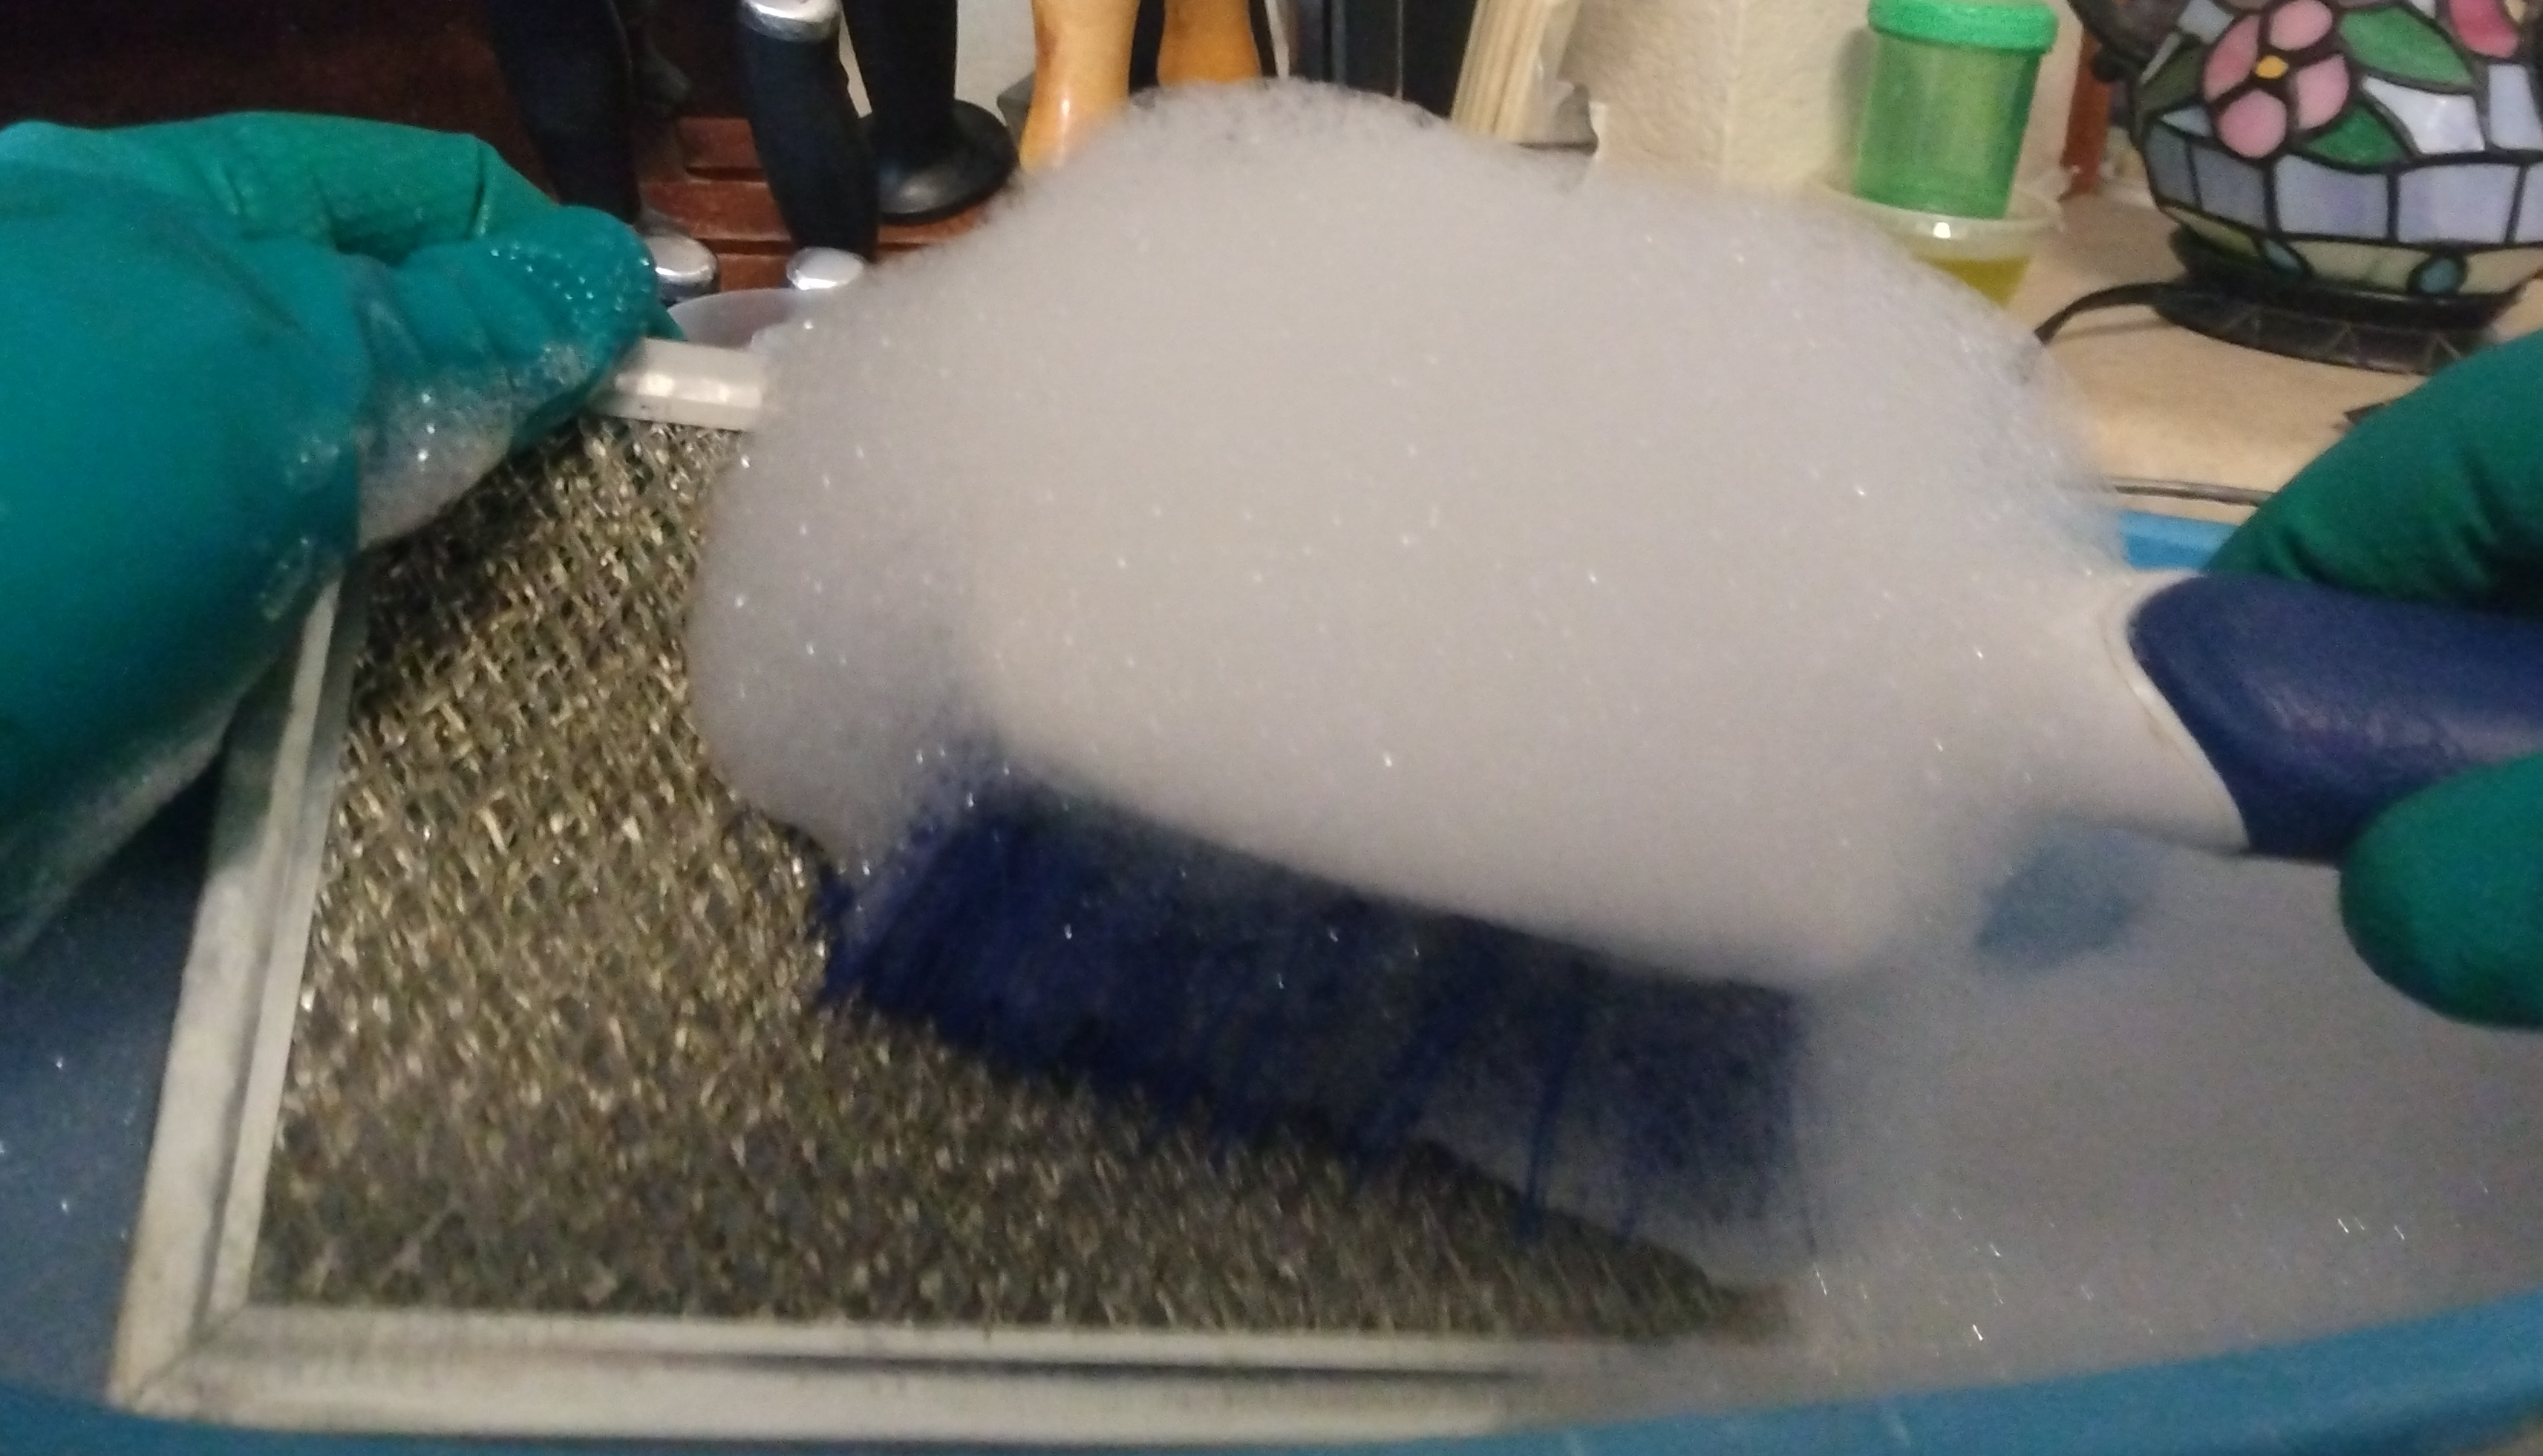
2. Clean the Filters
Put on gloves, eye protection and old clothes or a work apron.
Use a soft-bristled scrub brush to gently scrub away the grease and debris.
Soak the filters again for a longer time if it’s difficult to remove grease from the metal mesh. Keep soaking and scrubbing until all grease deposits and debris are gone.
3. Rinse the Filters
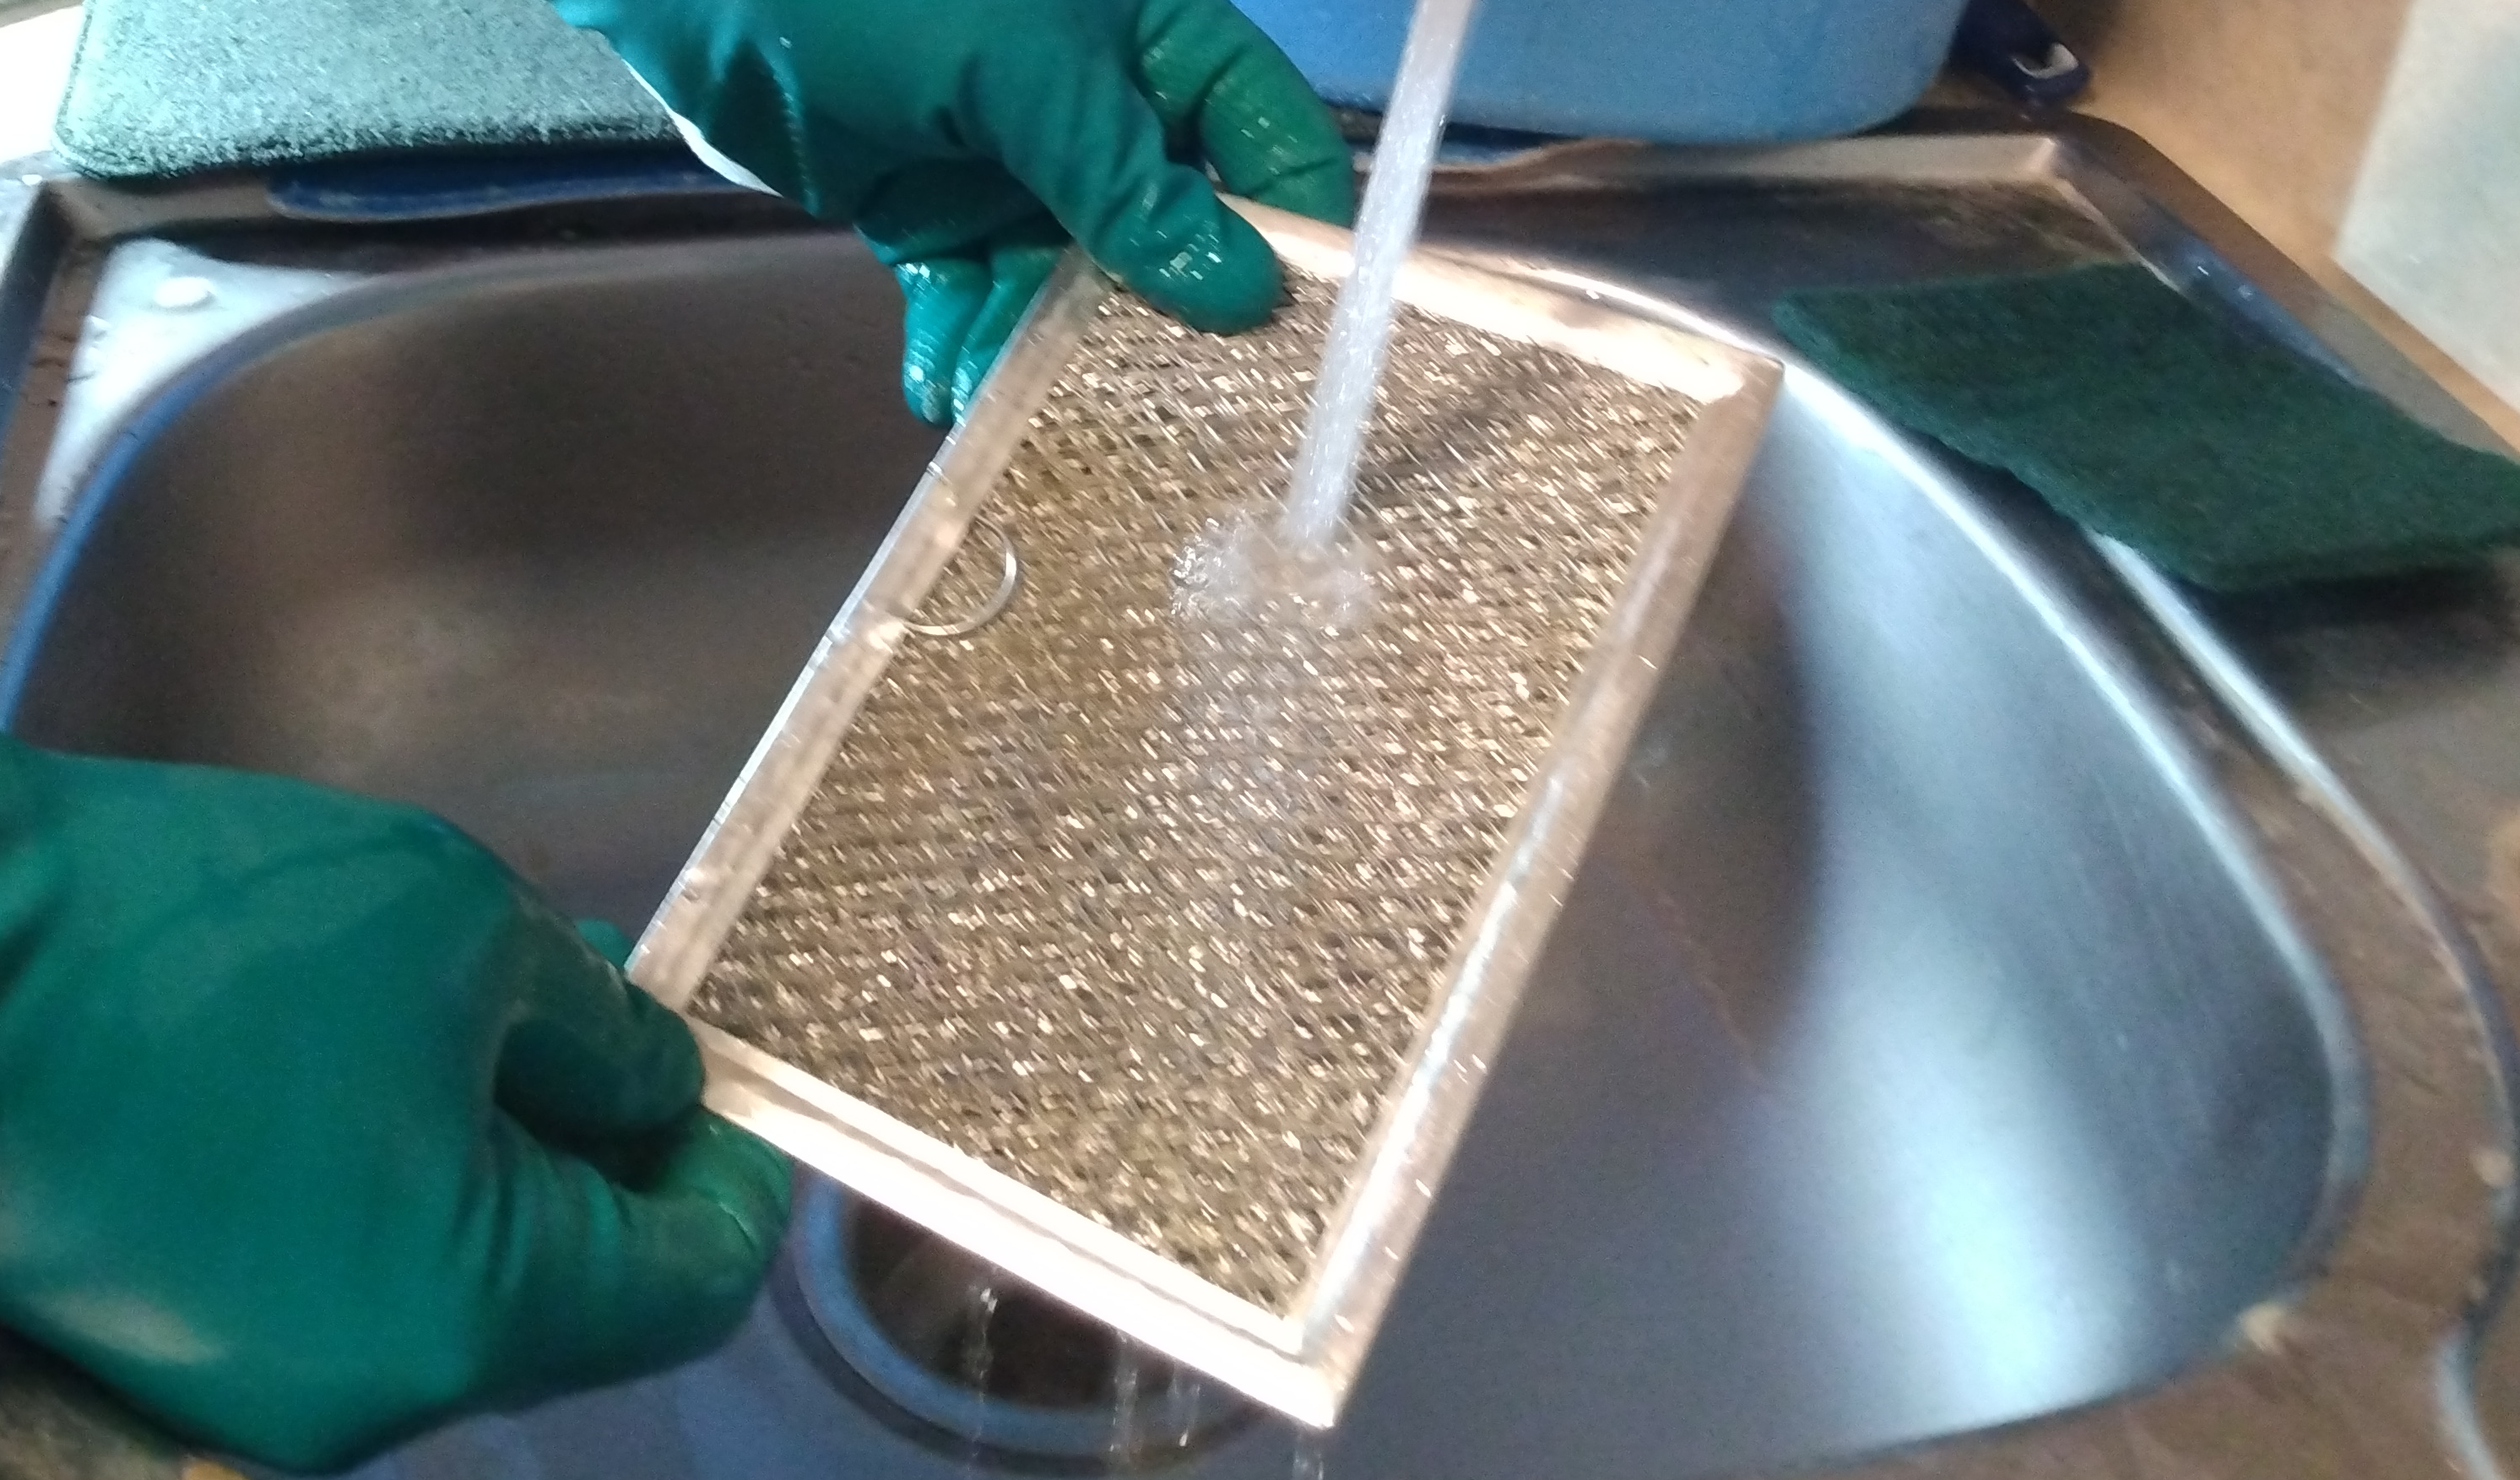
Rinse the grease filters under warm running tap water and then soak them in plain, hot water for 15 minutes.
If grease floats to the top of the plain water while soaking the filters in hot rinse water, repeat the cleaning process to eliminate all of the grease from the filters.
Rinse the filters under warm running tap water after soaking them in hot rinse water.
4. Dry the Filters Completely
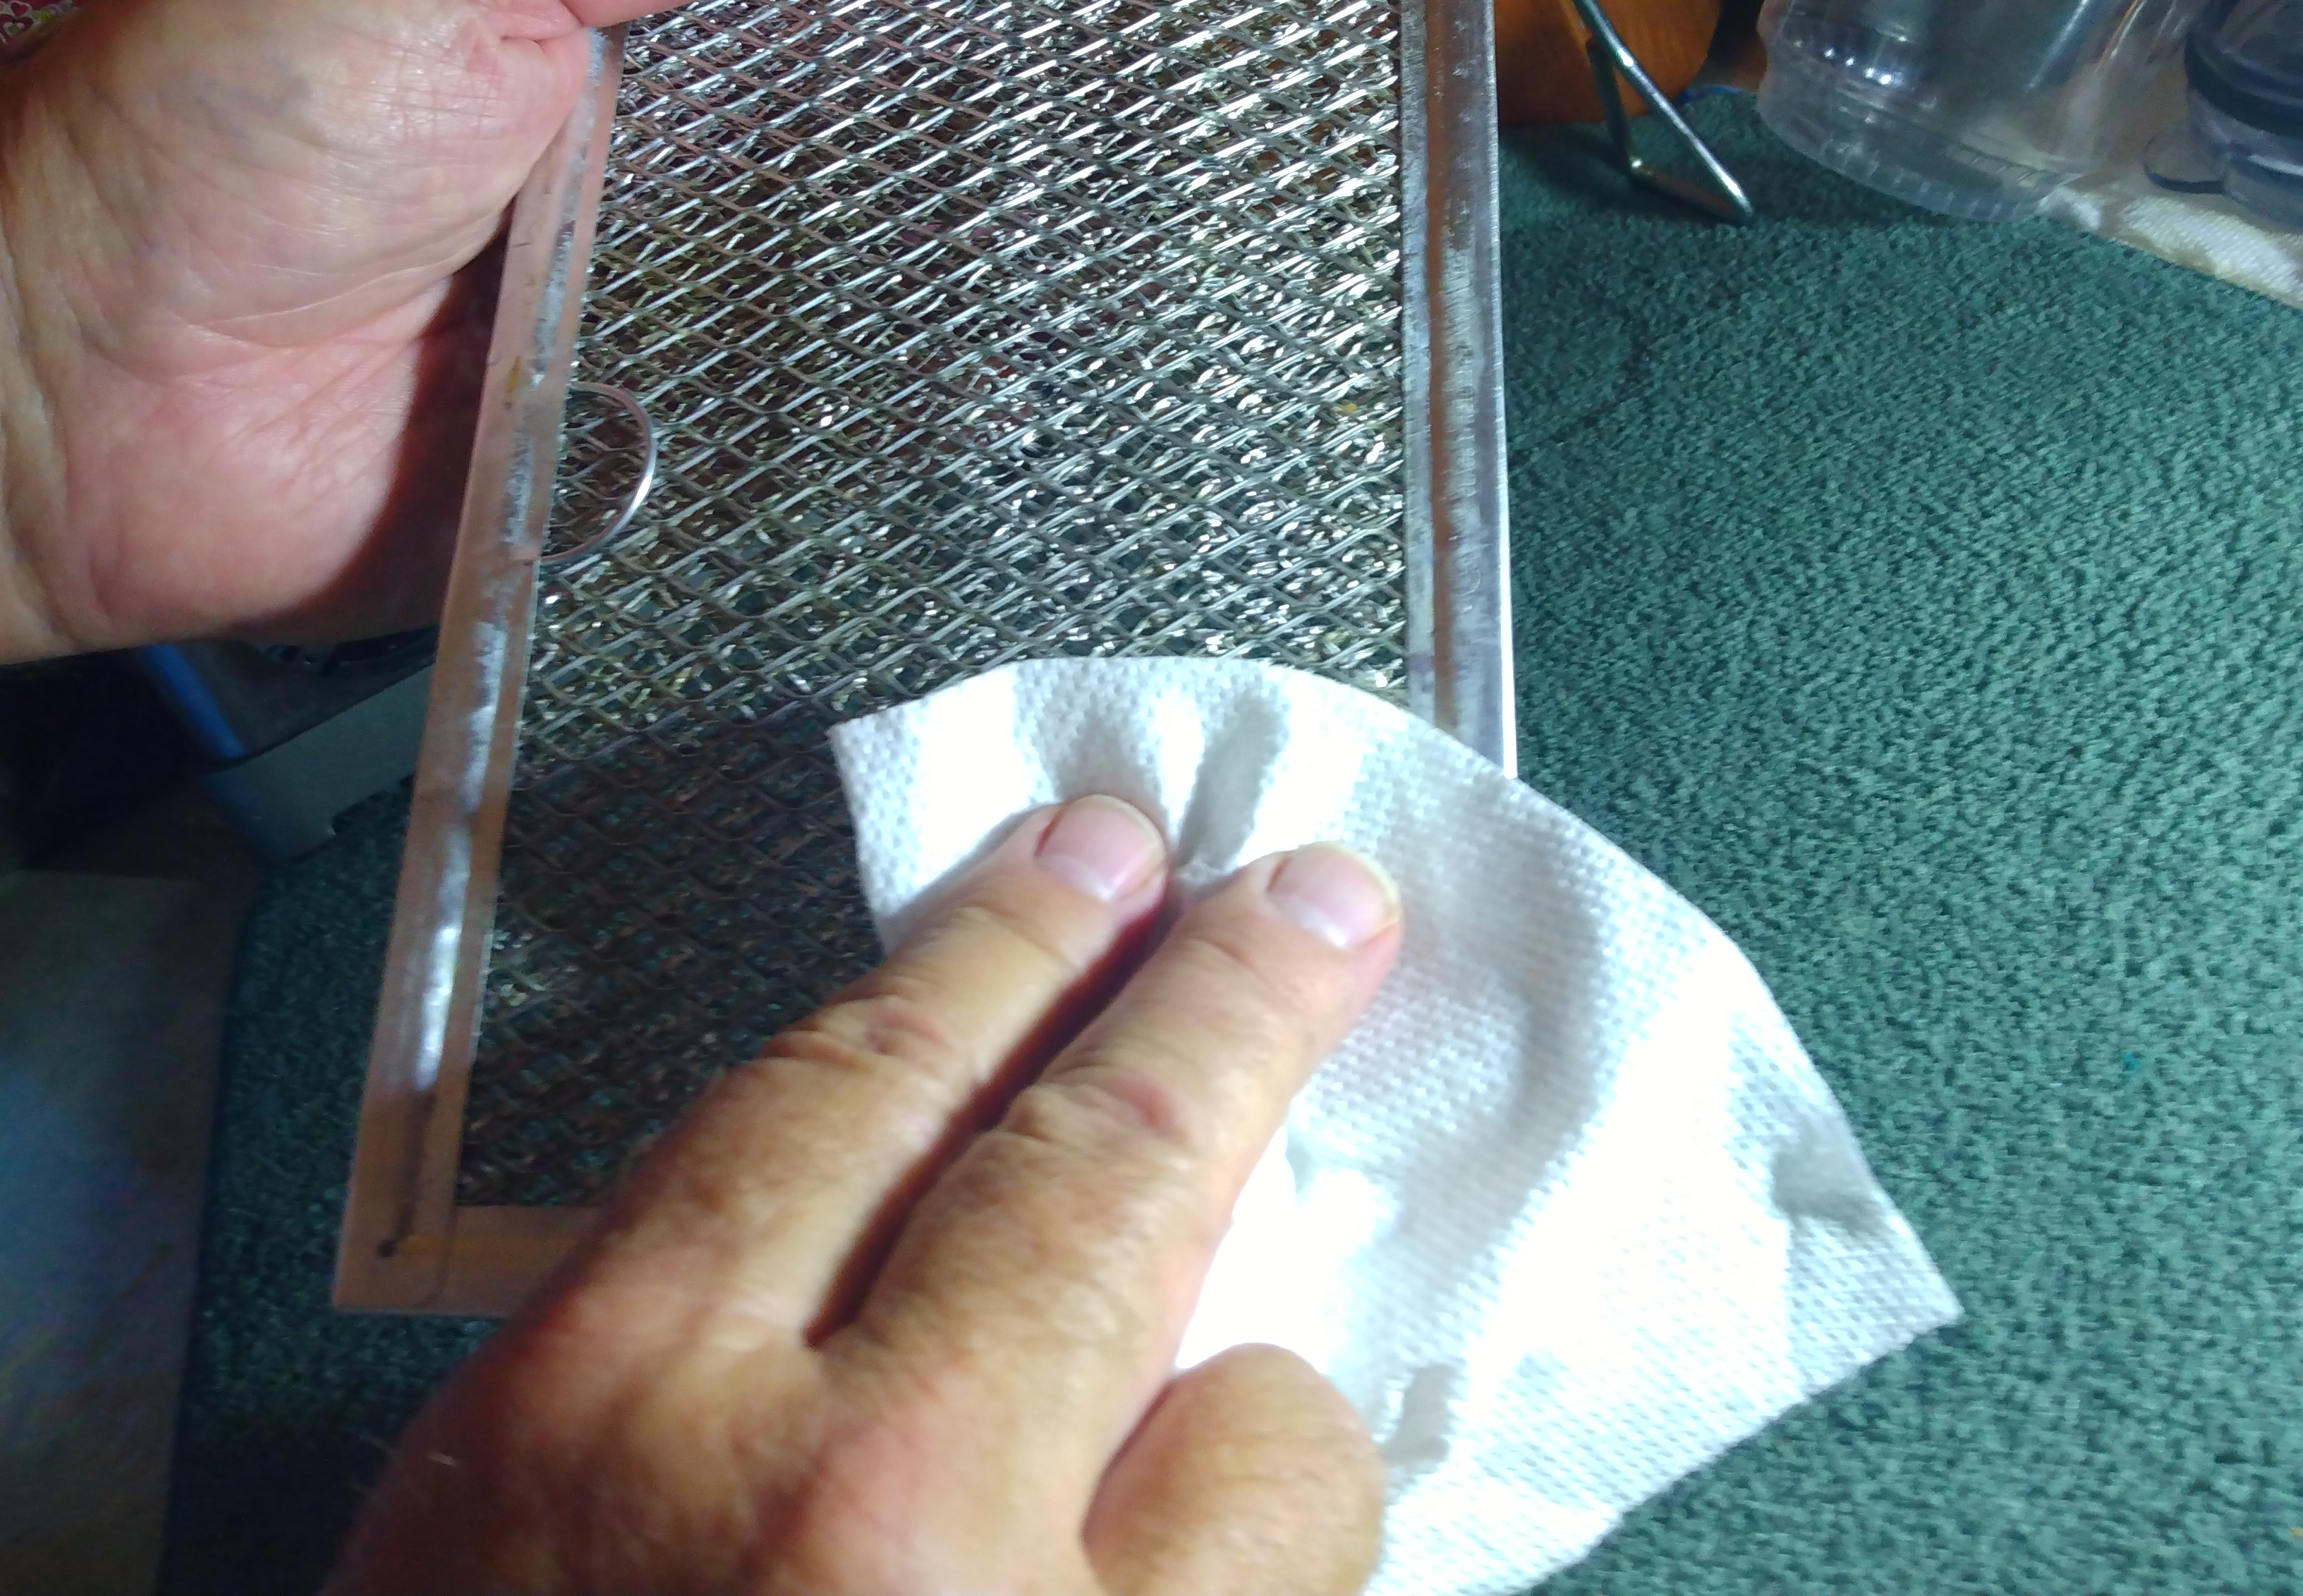
Wipe the filters with a clean towel or paper towels and then lay the filters out to air dry completely.
Ensure the filters are completely dry before reinstalling them. A damp filter can lead to mold or mildew growth in your range hood.
5. Reinstall the Range Hood Filters
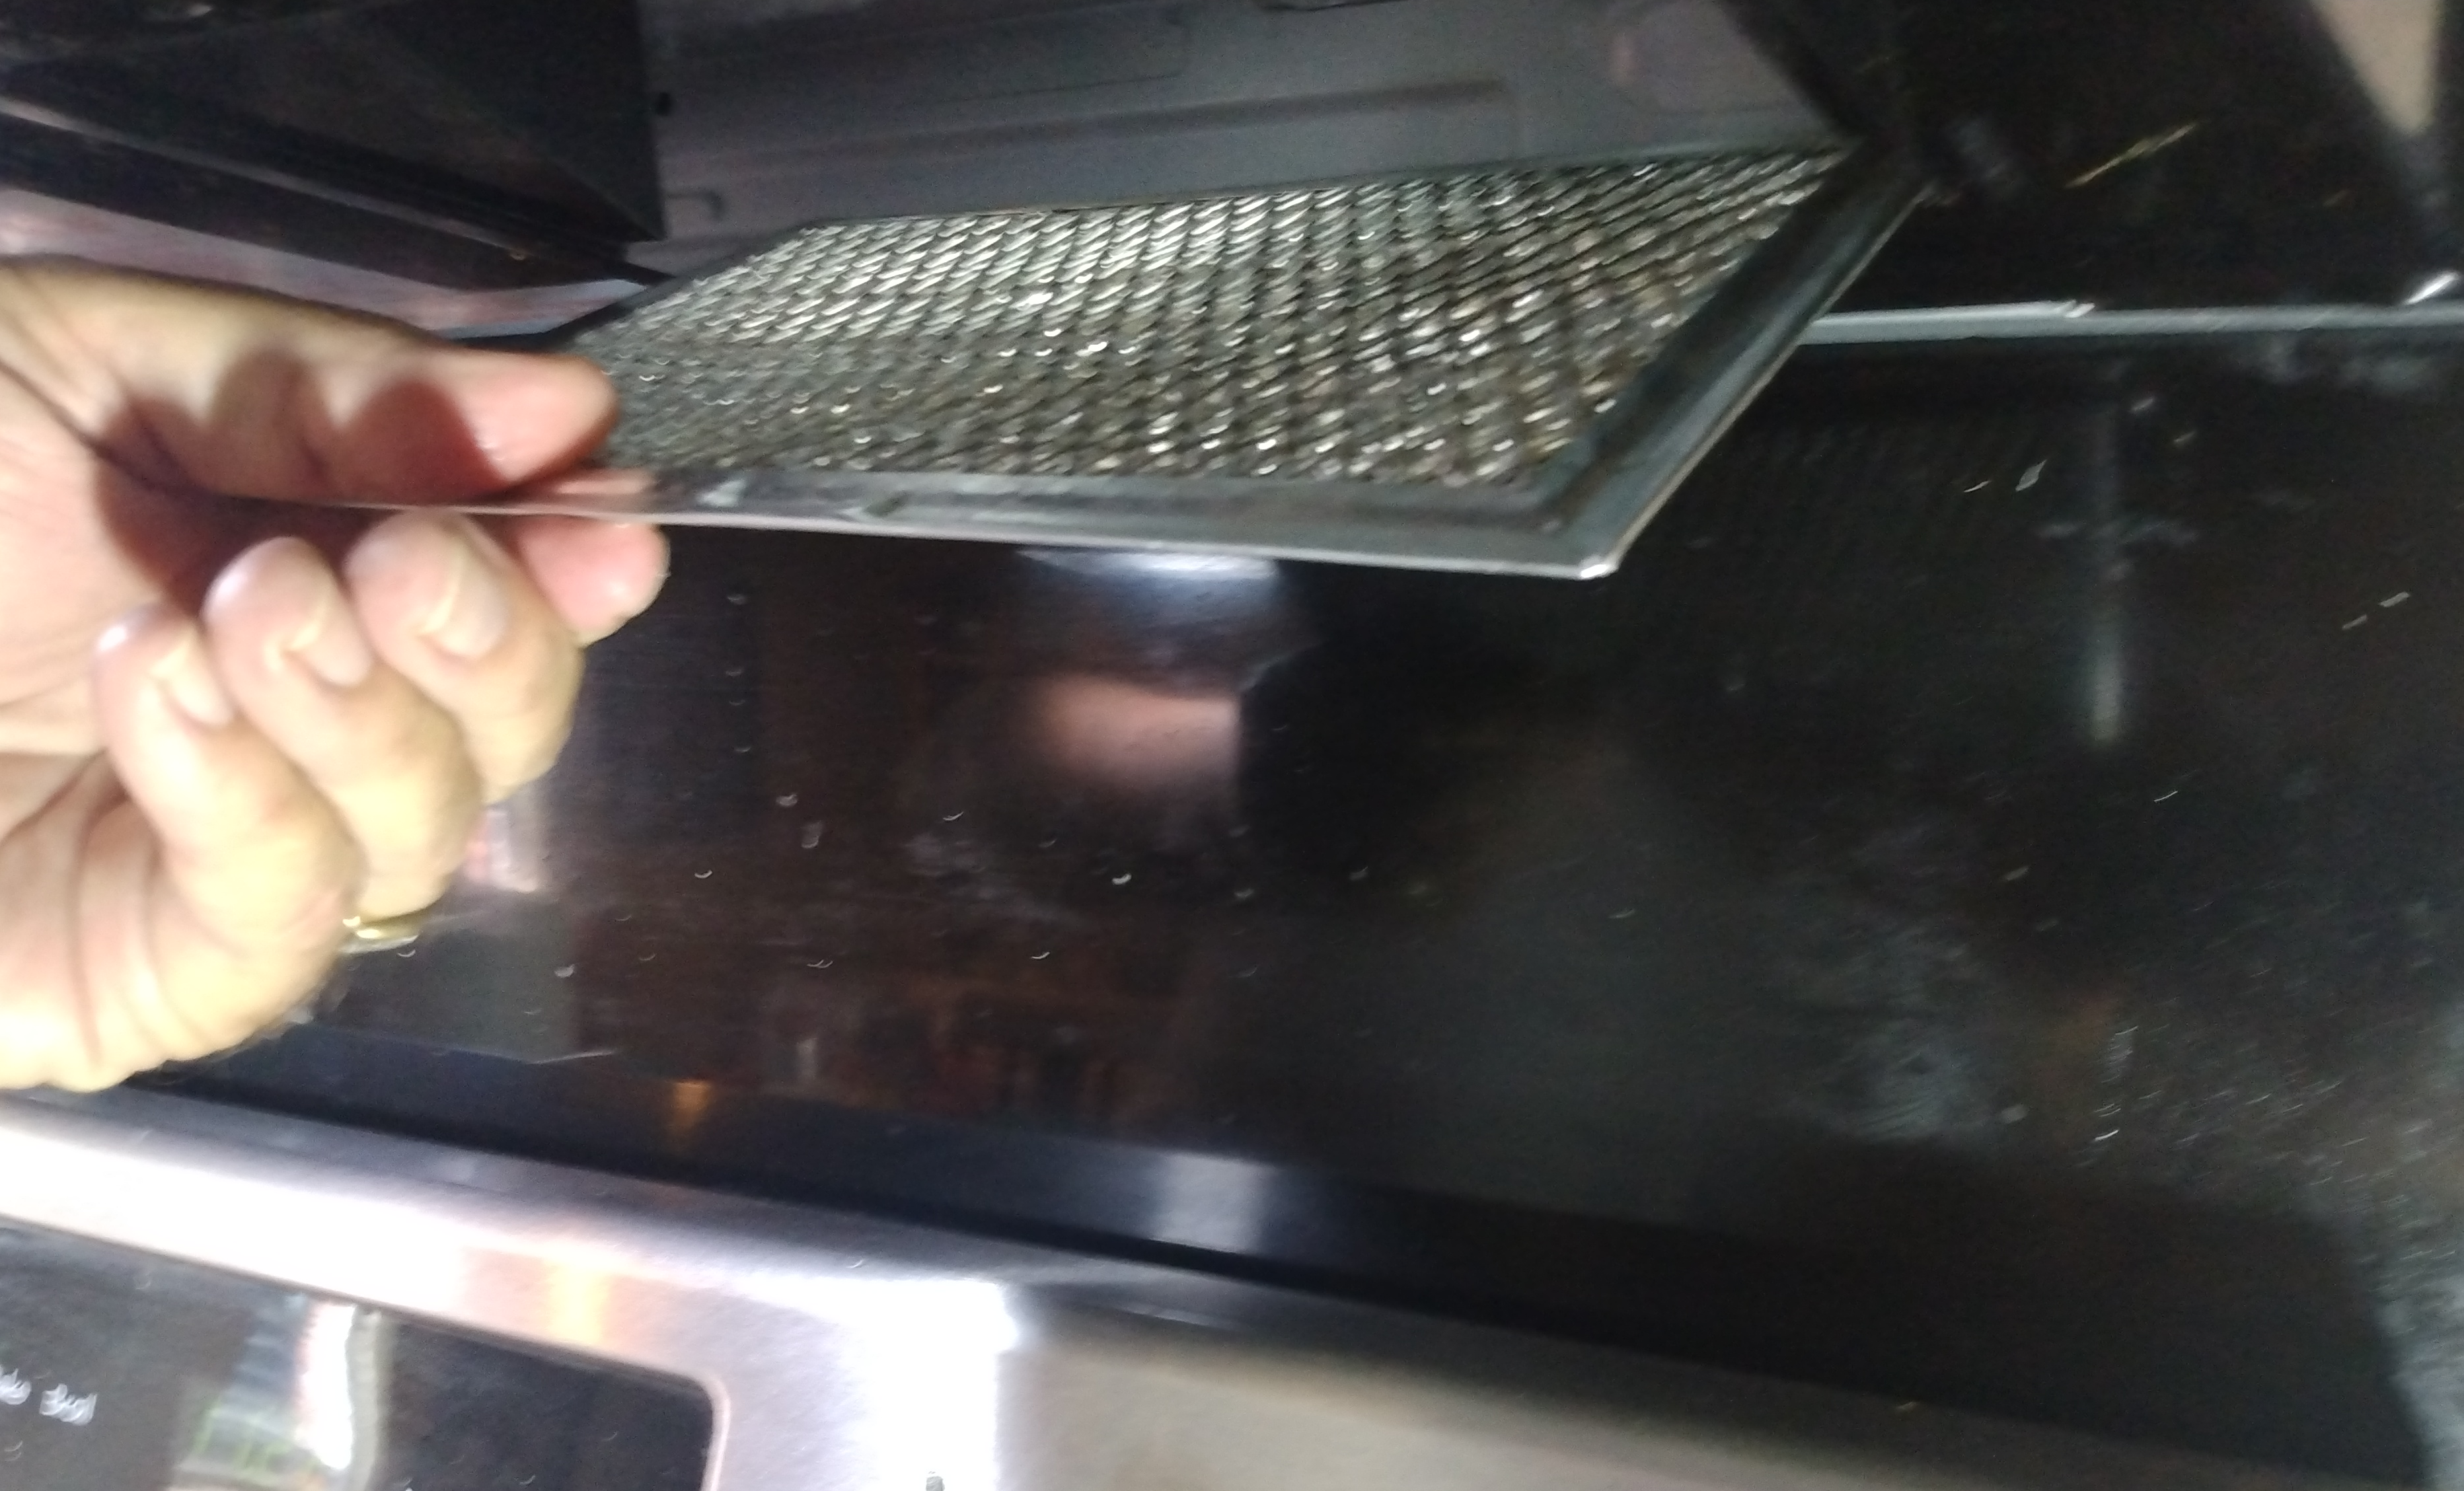
Carefully put the filters back into the range hood, ensuring they are securely in place.
Turn on the range hood fan to test its functionality and check for any unusual noises or issues.
If you detect any problems, schedule range hood repair service and we’ll send a Sears Home Services technician to your home to diagnose and fix the issues.
By following these step-by-step instructions on how to clean a range hood filter, you can effectively clean your range hood filter, maintain its efficiency and help you keep your kitchen healthy and fresh.
Remember to clean the filter regularly to ensure optimal performance and enhance the longevity of your range hood.
Schedule your range hood repair now!
Count on our knowledgeable technicians to expertly repair your range hood, no matter where you bought it.
Was this information helpful?
Repair Range Hood Resources
When your range hood malfunctions, it can disrupt your kitchen's functionality and cause concern.
Learn how to clean your range hood with our step-by-step guide. Keep your kitchen fresh and grease-free.
Learn how to clean range hood filters and keep your kitchen air fresh. Find step-by-step instructions at Sears Home Services.
Learn how to remove grease from the range hood with expert tips from Sears Home Services.
Glossary Terms
A range hood is a kitchen appliance installed over the stove or cooktop, designed to remove smoke, odors, heat, and airborne grease by venting them outside or filtering and recirculating the air.
A range hood filter is a component of a kitchen exhaust system designed to trap grease, smoke, and other airborne particles during cooking. This improves air quality and protects kitchen surfaces.
A range hood liner is a custom-fit enclosure designed to house a range hood's interior mechanisms, such as the fan and filter, providing a seamless integration into kitchen cabinetry or custom hoods for both aesthetic appeal and functionality.
A furnace flame sensor is a safety device designed to detect the presence of a flame when the furnace is on, ensuring that gas flows only when it is ignited to prevent dangerous gas leaks.
Common Appliance Symptoms
The most common reasons your Whirlpool washer won't stop filling are a clogged water valve, a bad water-level pressure switch, or a malfunctioning electronic control board.
The most common reasons your Whirlpool washer won't spin or drain are a seized gearcase, a broken motor, or a failed door switch.
The most common reasons your Whirlpool washer won't turn off are a malfunctioning electronic control board, broken motor or a jammed door lock assembly.
The most common reasons your Whirlpool washer won't start cycle are a malfunctioning electronic control board, jammed door lock assembly or a faulty user interface.
The most common reasons your Whirlpool washer vibrates are a damaged suspension rod, malfunctioning electronic control board or a dead fan.
The most common reasons your Whirlpool washer is experiencing the rinse cycle not working are a broken lid switch, a bad water-level pressure switch, or a malfunctioning electronic control board.
